Grand Rapids Tile Contractors logoTile Contractor you can count on in Grand Rapids.
Shower Tile Installation · Grand Rapids

Shower Tile Installation in Grand Rapids, MI

We tile showers from the studs out. Waterproofing goes in first, the pan gets a real slope, and the grout lines land where they should. Call us and we will look at your bathroom with you.

Free · 24-hour response

Free Shower Tile Installation quote.

Response under 24 hours. No spam. Contact info is used only to send the quote.

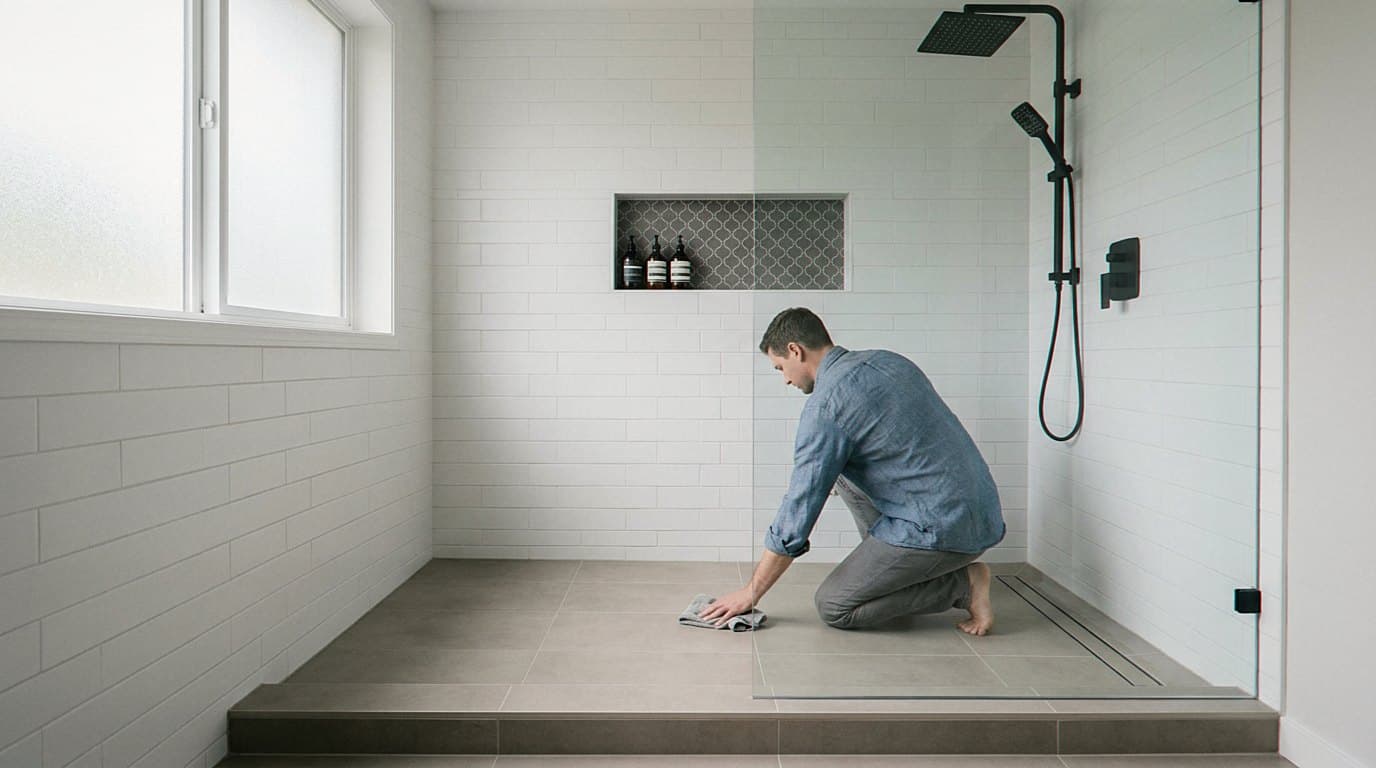
Finished walk-in shower with black fixtures
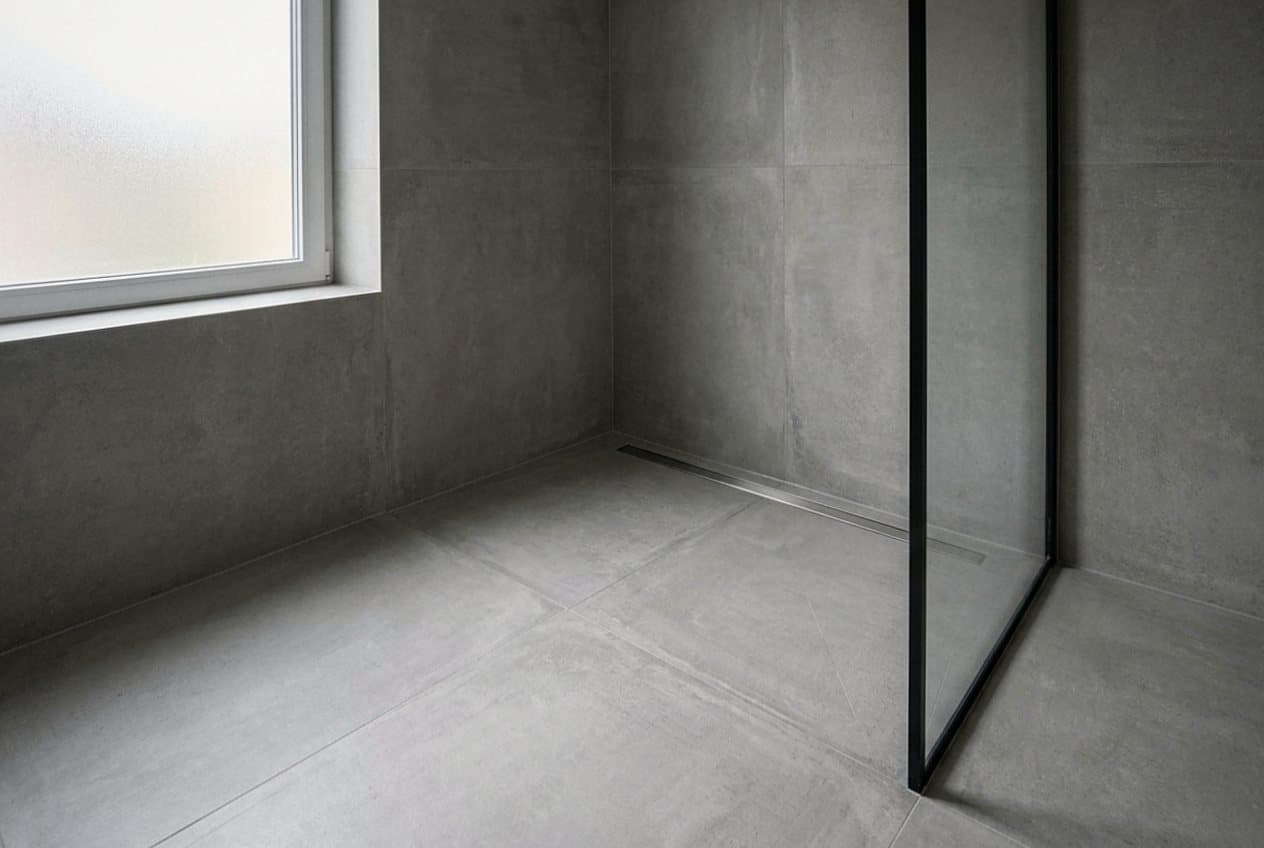
Curbless walk-in shower in large gray tile
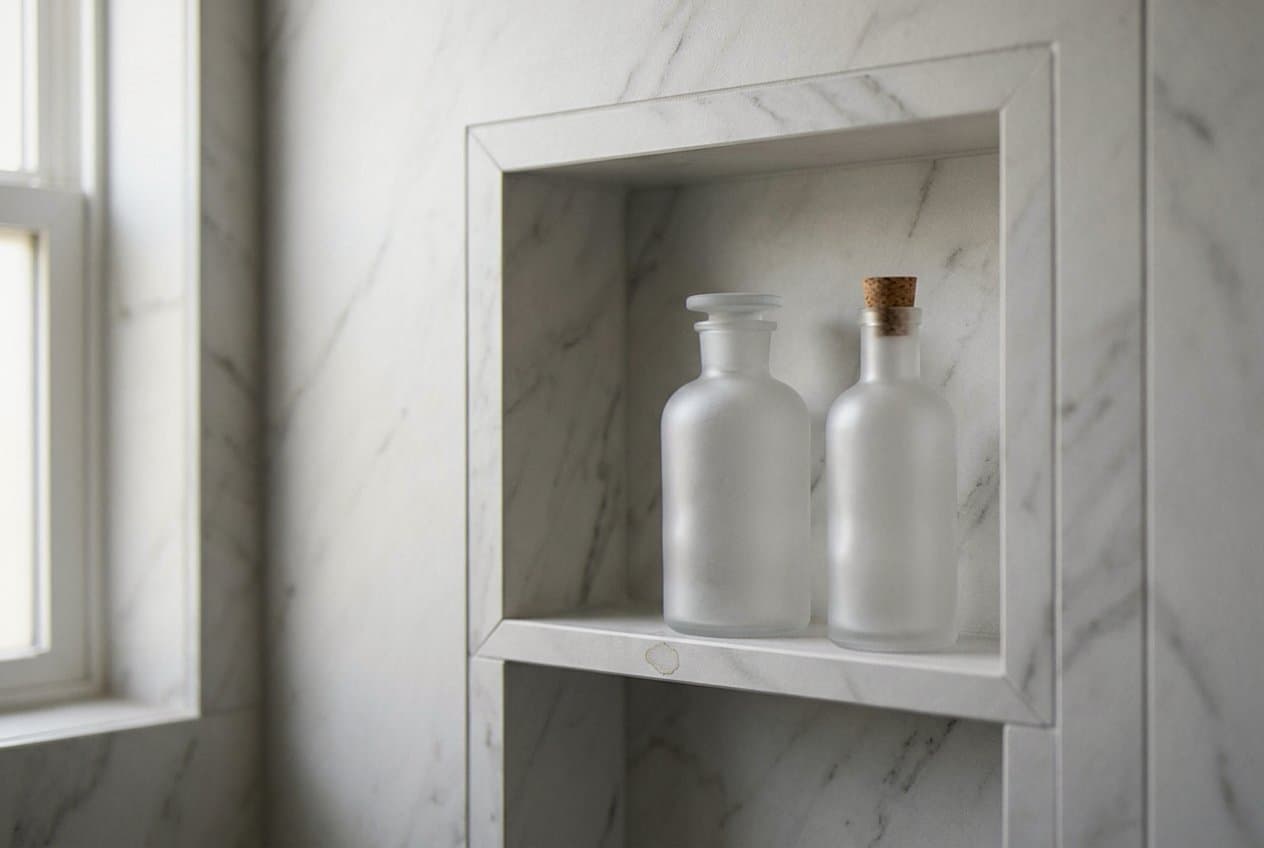
Marble shower niche holding two frosted bottles
What we do

A shower in Grand Rapids has to be built from the wet side out

Most of the failed showers we open up in Grand Rapids look fine from the outside. The tile is flat, the grout is only a little dark, and the owner has no idea anything is wrong. Then we pull a wall panel and find soft framing behind it. Older baths on the West Side, in Eastown, and up through Creston were built with a mortar bed and a thin liner, and those liners give out after a few decades. Newer homes out in Ada and Cascade are not immune either. A bad slope or a skipped seam will soak a subfloor just as fast in a house built in 2004. Our winters make it worse, because the window stays shut from November through March and the steam has nowhere to go. So we start every job the same way. We find out what is behind the tile before we quote a single square foot of it.

Once the old shower is out, we work in order and we do not skip ahead. Framing gets checked and any wet lumber comes out. We shim the studs flat, because a wavy wall shows up in every grout line later. The pan goes in next, sloped toward the drain so water actually leaves. Then the walls get board, the seams and corners get sealed, and a waterproof membrane goes over the whole wet area. We flood the pan and let it sit before one tile goes up. If it holds, we move on. If it does not, we fix it while fixing it is still easy. Only then do we snap lines and start setting tile.

  • We waterproof behind the tile first, so any water that works through the grout has one place to go, and that is the drain.
  • Your pan gets a true slope, checked with a level in every direction, so water does not sit in the corners after a shower.
  • We dry fit the layout so full tiles land where your eye goes and the cuts end up tucked in the corners.
  • Niches and benches get framed, sloped, and sealed as part of the shell, instead of being stuck on at the end.
  • We cover the floors on the way in, keep the dust down, and haul the old shower out of your house when we go.
A shower is really a waterproof box that happens to have tile on it. Get the box right and the tile takes care of itself.

Tile choice changes the work, so we talk it through before anything is ordered. Porcelain is the easy answer for walls and it cuts clean. Natural stone looks great in a Grand Rapids master bath, but it drinks water and needs sealing, so we set it with white mortar and plan for that upkeep. Glass shows every trowel mark behind it. Small mosaic on a shower floor gives your feet more grout to grab, which matters more than people think. We also leave soft joints where the walls meet the pan and in the corners, because a house moves with the seasons here. Grout is not built to flex. Those joints are what keep a shower from cracking through in year three.

If your shower is leaking, dated, or just tired, we can walk it with you and tell you straight what it needs. We tile showers all over Kent County, from Heritage Hill and Alger Heights out to Wyoming, Kentwood, Grandville, Walker, Jenison, and up toward Rockford. Some jobs are a full gut. Some are a pan and a fresh set of walls. Call us, tell us what you are seeing, and we will give you a real answer and a date we can start.
Materials

What goes into a shower we build

The parts you never see are the ones that decide how long a shower lasts. We build the wet area with either a cement board and a liquid membrane rolled over it, or a foam board system with sealed seams and corners. Both work. Which one we pick depends on the room, the pan, and how the drain sits. Over that goes the mortar, and we back butter big pieces so the whole back of the tile is bedded. Hollow spots crack later, so we check coverage as we go by pulling a tile now and then and looking at it. The mortar we use is rated for the tile it holds. A heavy stone slab and a light glass mosaic do not want the same thing. None of this shows up in a photo of the finished bath, and all of it is why the finished bath stays finished.

For grout we usually set cement grout with a good mix and a clean float, then seal it once the shower has cured. Epoxy grout is the other route. It shrugs off soap and stays lighter in color, though it costs more to buy and more to install, and it has to be worked fast. We talk that trade through with you rather than picking for you. Drains matter too. A round center drain is the simple option and it works with almost any pan. A linear drain along one wall lets the floor slope one way instead of four, which is what you want when the tile is large format or when the shower has no curb. Benches, niches, and curbs all get the same waterproofing as the walls, sloped a touch so water runs off rather than pooling on the ledge.

  • Waterproofing over every wall, corner, and seam in the wet area, not just a coat of sealer brushed on the grout.
  • A pan sloped toward the drain and flood tested before any tile goes on the walls.
  • Mortar matched to the tile, with big pieces back buttered for full coverage.
  • Soft joints at the corners and where the wall meets the pan, so seasonal movement has somewhere to go.
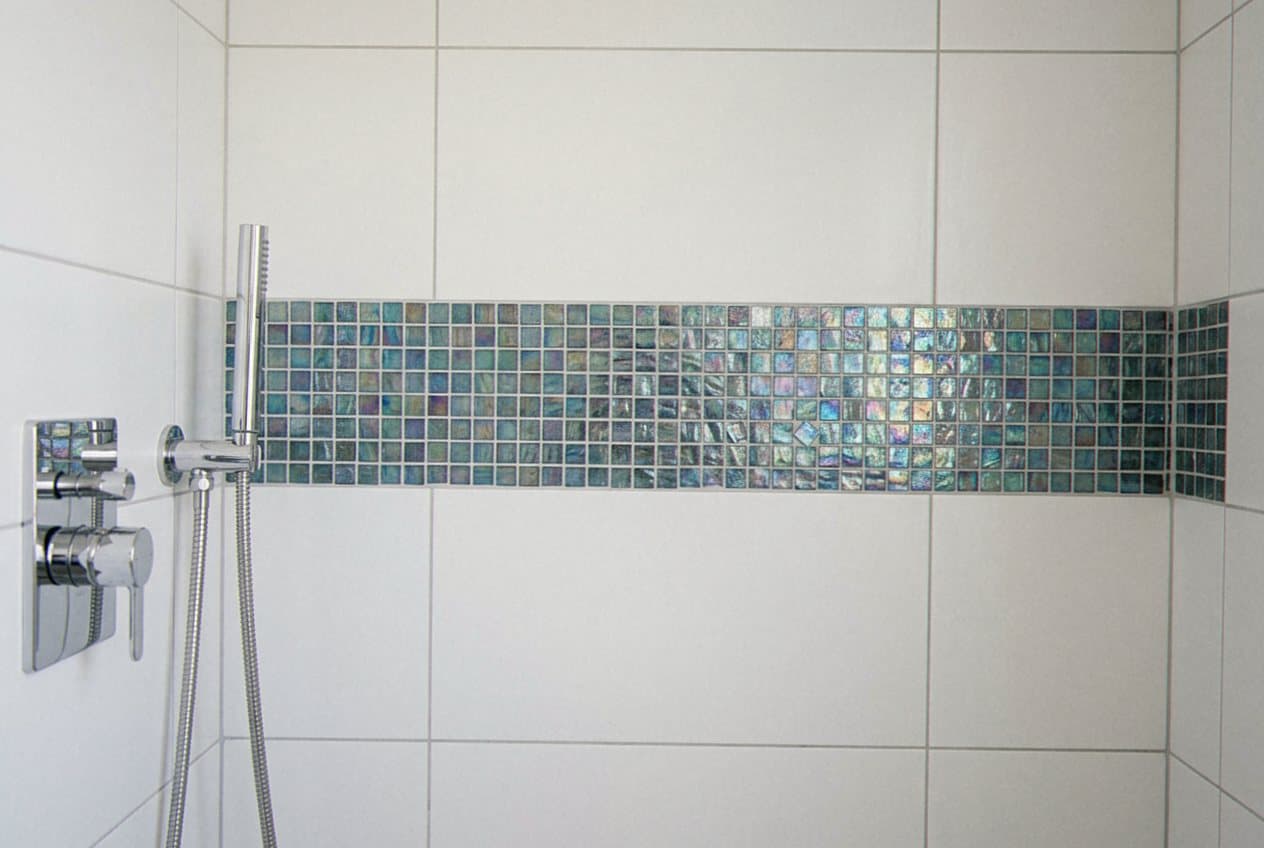
Iridescent mosaic accent band across a white tile shower
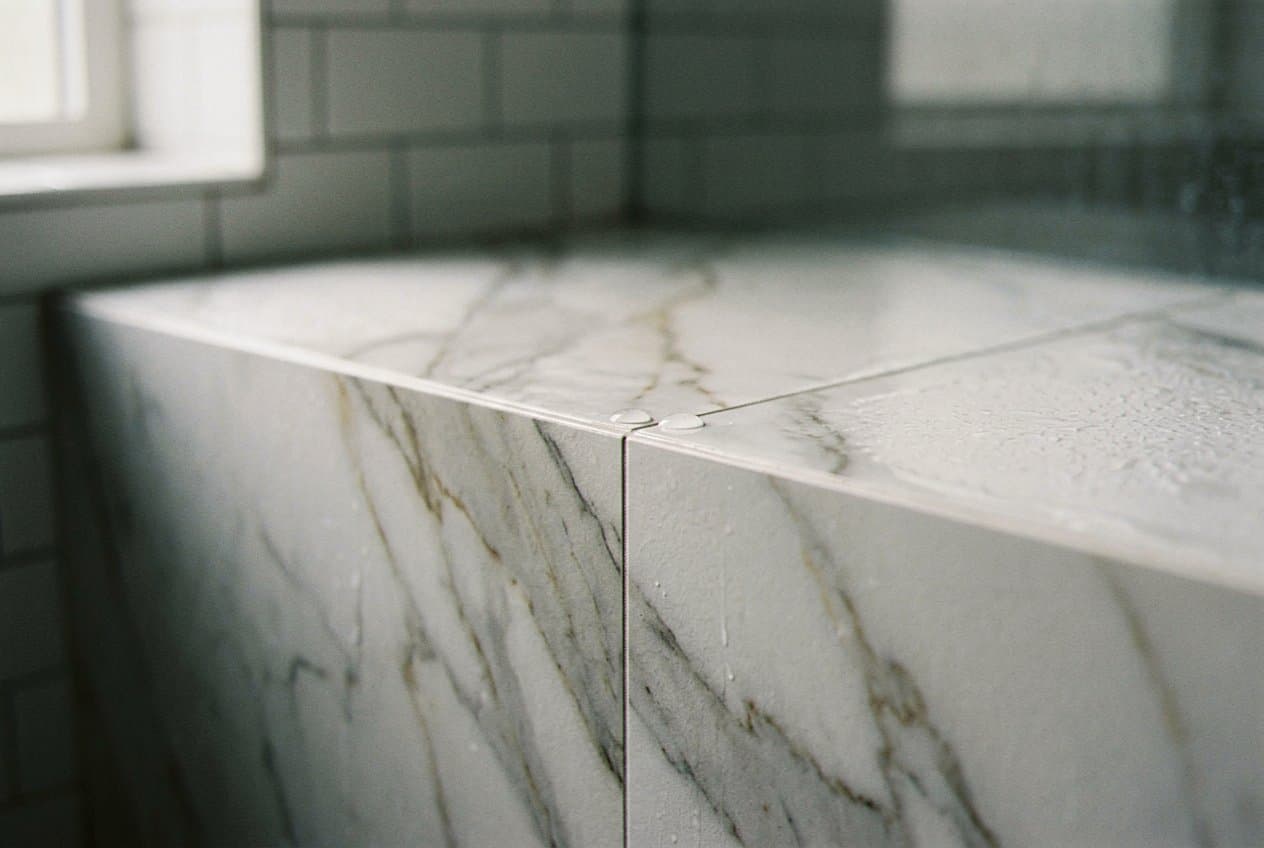
Mitered marble corner on a shower bench edge
What about the alternatives?

Shower build methods, and how they hold up here

There is more than one right way to build a shower and a few ways that are just wrong. Here is how the common methods stack up in our homes, where a bath runs hot and humid all winter and the house shifts a little every year. We will tell you which one fits your bathroom once we see it.

Waterproof membrane over backer board

This is our default build. Cement board goes on the studs, then a liquid or sheet membrane seals every seam, corner, and fastener before a single tile is set. It is proven, it can be repaired down the road, and it takes any tile you want on top.

Recommended

Foam board system with sealed seams

Light, quick, and waterproof at the panel itself, which makes it a smart pick in a small bath or on an upper floor where weight matters. The seams and the screw heads have to be sealed exactly right. It rewards a crew that builds this way often.

Acceptable

Mud set pan poured on site

The old method, and still a strong one when the pan is an odd shape or wider than a tray will cover. It takes longer and it takes a practiced hand to float the slope true. We reach for it when the layout asks, not out of habit.

Acceptable

Sloped foam pan tray

A ready made tray that shows up with the slope already built in, so the floor comes out consistent and the work moves fast. The catch is size. A custom footprint usually pushes us back to a poured pan.

Acceptable

Tile set on greenboard or plain drywall

This is not a shower, it is a countdown. The paper face pulls water in and the board goes soft behind the tile, and by the time the grout looks bad the studs are usually wet too.

Skip

New tile glued over the old tile

It looks like a shortcut and it buys a year or two at best. Whatever leaked behind the first layer keeps leaking, only now it sits buried under twice the weight of tile and mortar. We do not build showers this way.

Skip
How it goes

From quote to walk-on, fast.

STEP 01

Your Inquiry

Call or send the short form with what is going on at your place. A sentence or two is plenty to get started.

STEP 02

We Talk It Through

We go over the situation, ask the questions that matter, and tell you plainly what we would do next.

STEP 03

A Clear Plan

You get a written rundown of the work, the order it happens in, and what to expect on the day.

STEP 04

The Work Gets Done

The crew shows up when we said, does the job, and walks you through the result before leaving.

Before you book

Straight answers before you commit

People ask us the same handful of things when they are thinking about a new shower. Here is what we tell them on the phone, before anybody signs anything or picks a tile.

A standard tear out and rebuild usually runs about a week of working days, plus curing time before you use it. Bigger custom work with stone or a curbless entry takes longer. We give you the schedule up front and we tell you the day you can shower again.
Sometimes, and we will look. If the pan is sound, drains right, and passes a flood test, we can tile the walls and leave it alone. If the liner is old or the slope is off, keeping it means building a new shower on a bad base.
You need the main wall and floor tile picked and on hand before we set, because the layout depends on the size. Trim and accent pieces can come a little later. We are happy to go through samples with you and flag what is easy to install and what is fussy.
We expect it often enough that we plan for it. When the walls come off we show you what is there, in person or by photo, and we price the repair before we go further. Nothing gets covered up until you have seen it.
Yes, when the floor framing allows it. The subfloor has to be dropped or the drain has to be moved so the water still runs downhill. On a slab it can get involved. We look under the floor before we promise it.
We do. Along with Grand Rapids we take shower work in Wyoming, Kentwood, East Grand Rapids, Grandville, Walker, Jenison, Hudsonville, Ada, Cascade, Comstock Park, and Rockford. If you are near Kent County, call and ask.
Aftercare

Keeping the new shower looking new

A tile shower is easy to live with as long as you do a few small things. The biggest one is air. Run the fan during the shower and for a while after, especially in winter when the window stays shut and the steam hangs around. Wet grout that never dries is what grows the dark film people blame on the tile. Past that, skip the harsh stuff. Strong acids eat cement grout and dull stone, and a scouring pad will scratch a glazed face. Warm water, a mild cleaner, and a squeegee do more than any product on the shelf. Call us if you see a grout line opening up, because a small fix now beats a tear out later.

  • Run the exhaust fan through the shower and for twenty minutes after, all winter long.
  • Squeegee the walls and glass when you are done, so hard water does not dry into a film.
  • Clean with a mild cleaner and a soft cloth. Skip acid, bleach, and anything gritty.
  • Reseal cement grout and any natural stone when water stops beading on the surface.
  • Watch the soft joints at the corners and the pan, and tell us when one starts to shrink or pull.
  • Keep bottles and razors off the tile edges, since a dropped bottle chips a corner faster than daily use ever will.
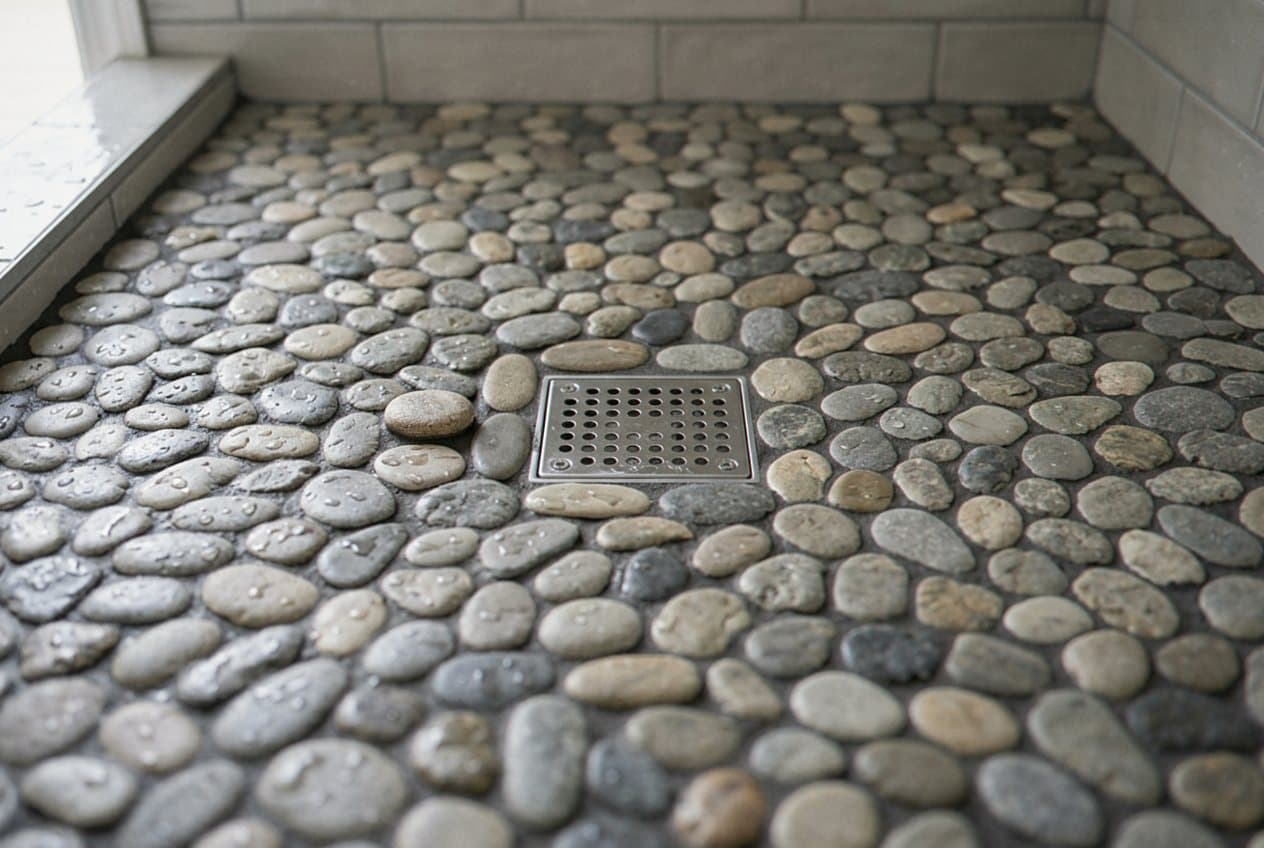
River pebble mosaic shower floor around a drain
FAQ

Shower tile questions we hear around Grand Rapids

Ready when you are

Ready to get started in Grand Rapids?

Call or send the form with what is going on. You get a straight answer and a written quote, fast.

Call NowFree Quote