Grand Rapids Tile Contractors logoTile Contractor you can count on in Grand Rapids.
Kitchen Backsplash Installation · Grand Rapids

Kitchen Backsplash Installation in Grand Rapids, MI

We tile kitchen backsplashes across Grand Rapids and Kent County. Clean layout, tight joints, and a kitchen you can use again in a couple of days.

Free · 24-hour response

Free Kitchen Backsplash Installation quote.

Response under 24 hours. No spam. Contact info is used only to send the quote.

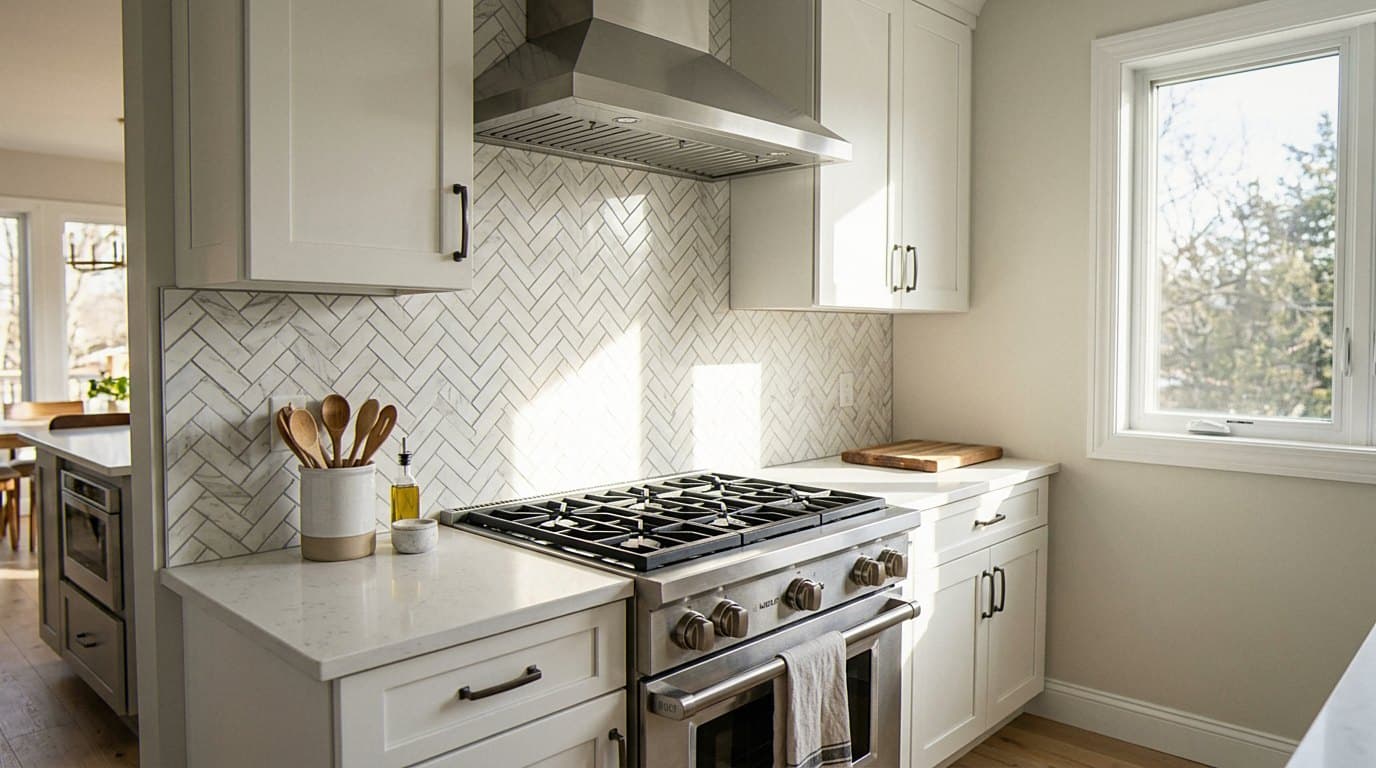
Herringbone marble backsplash behind a gas range
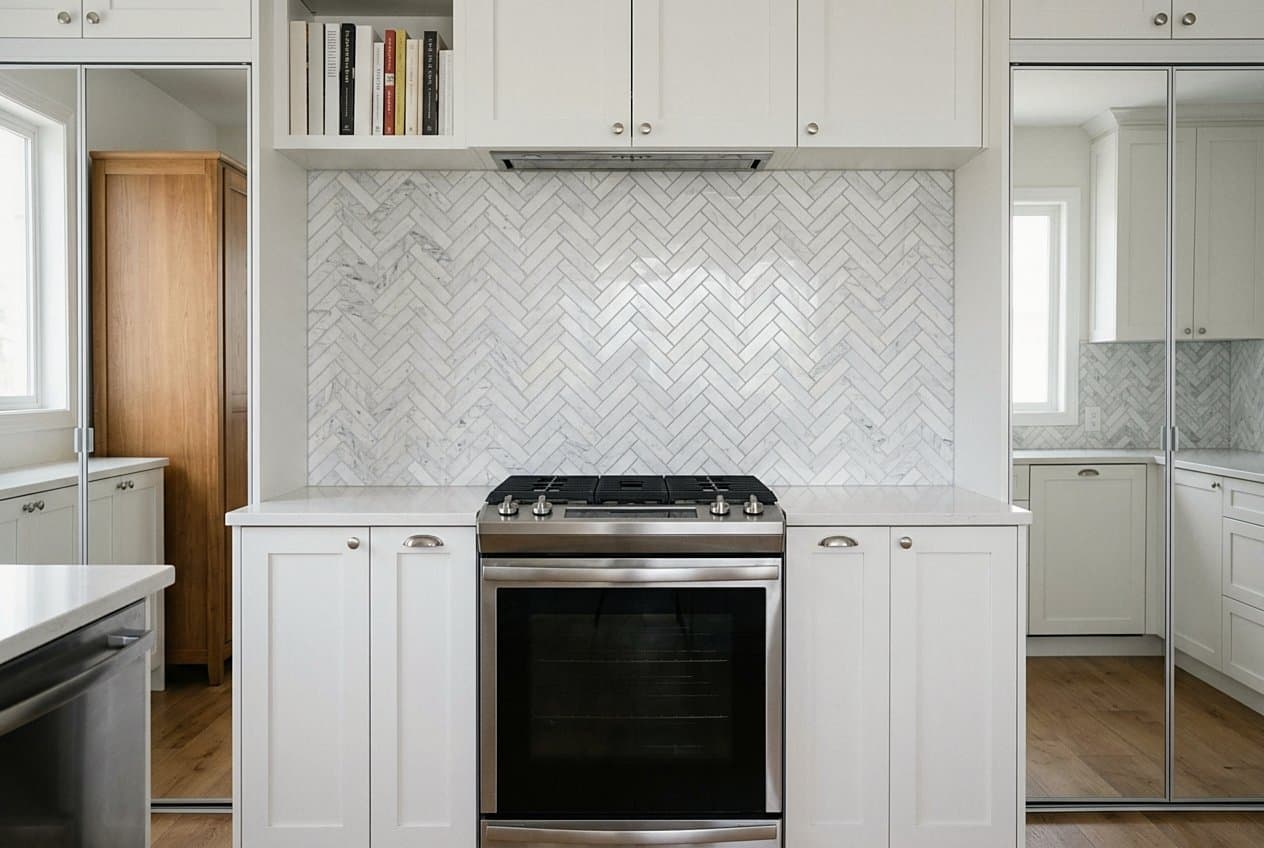
Finished herringbone marble backsplash in a white kitchen
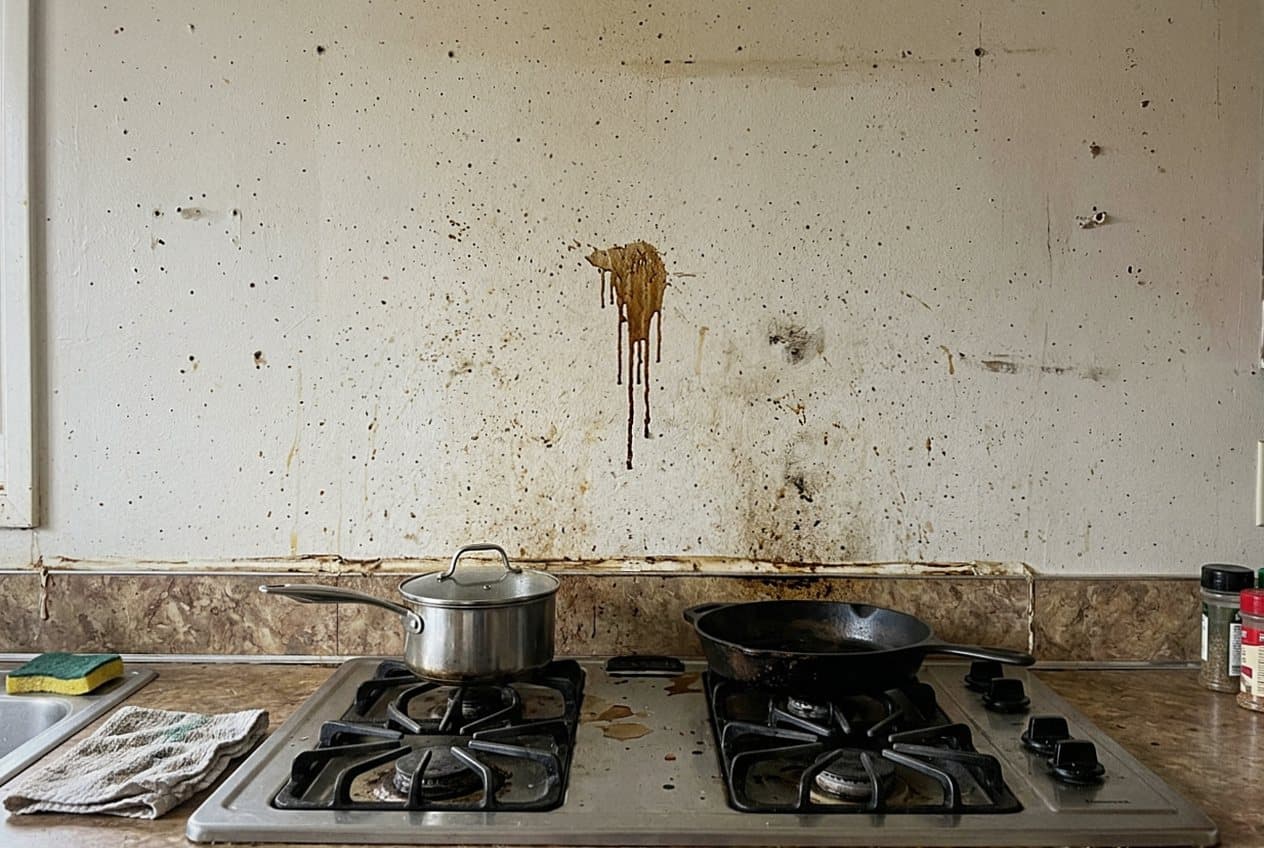
Grease-stained wall with no backsplash above a stove
What we do

Backsplash tile set right the first time

A backsplash is the part of your kitchen people stand two feet away from. Every wave in the wall shows. Every cut that lands short of the cabinet shows too. So we spend the first hours of a job on the wall itself, not the tile. Older homes around Heritage Hill and Creston often have plaster that has moved over the years. Ranches in Wyoming and Kentwood tend to hide patched drywall behind an old tile run. We check the whole wall with a straightedge, skim the low spots, and let it dry before a single sheet of tile goes up.

Layout comes next. We find the sight lines that matter in your kitchen, usually the run behind the sink and the wall behind the range, then set a center line so the cuts fall evenly at both ends. Nobody wants a sliver of tile jammed against the window trim. Outlets get pulled forward with box extenders so the plates sit flat on the finished face, the way the electrical code asks. We dry lay the first few rows on the counter, look at it with you, and adjust before anything is stuck to the wall.

  • We flatten the wall first, so the tile reads straight under your cabinet lights instead of rippling.
  • Layout starts at a center line, which keeps whole tiles where you look and hides the small cuts in the corners.
  • Outlets come forward on box extenders, so the plates sit flat on the tile and nothing looks tacked on.
  • We cut wet and keep the saw out of the kitchen, and your counters and floors go under cover first.
  • Grout and caulk get matched to your tile, and the joint at the counter gets soft caulk that will not crack.
The wall behind the tile decides how the tile looks. Flatten it, set your center line, and the rest of the job goes quiet.

Most kitchen backsplashes here take two days. Day one is prep, layout, and setting tile. We come back once the mortar has cured, grout the joints, wipe the haze, and run the caulk lines at the counter and the inside corners. Working behind a range hood or around a deep window return adds a few hours for trim pieces and the cuts that go with them. We tell you the schedule before we start, and we tell you if it changes. Your kitchen stays usable at night either way, because we clean the space down every evening.

If you are staring at a bare strip of drywall between your counter and your upper cabinets, call us. Tell us the kitchen: how long the run is, whether the range wall goes to the ceiling, and what tile you have in mind. We will talk through layout, grout color, and how long that wall will be out of service. Then we put you on the schedule. We work across Grand Rapids, Grandville, Walker, Kentwood, Ada, and the rest of Kent County.
Materials

Tile choices that hold up in a working kitchen

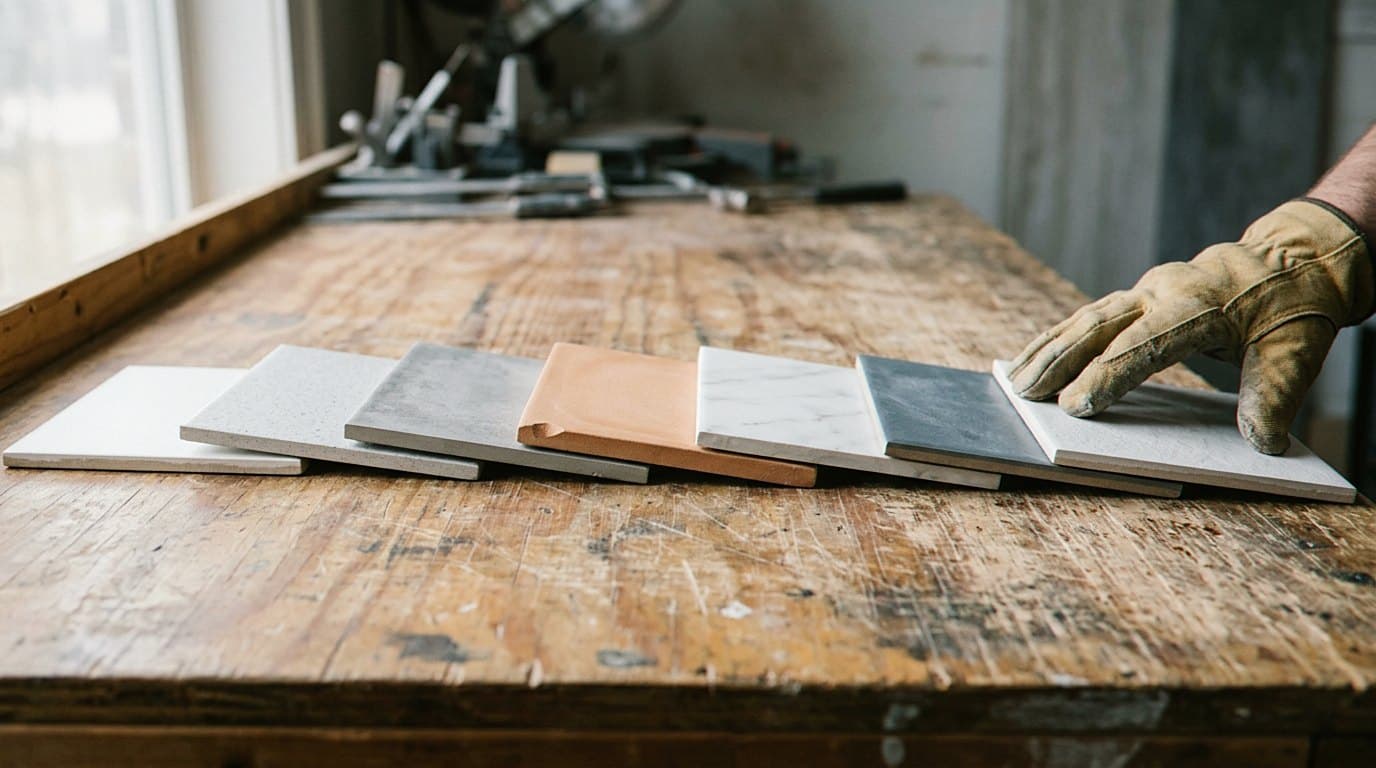
Ceramic subway tile is still the workhorse, and there is a reason for it. It cuts clean, wipes down with a sponge, and forgives a wall that is not perfectly flat. Porcelain runs harder and denser, which helps on the range wall where grease and heat live. Glass mosaic on mesh sheets goes up fast and bounces light around a dim kitchen, though the mesh has to be set in bright white mortar or the seams show through. Stone like marble and travertine looks rich on a wall, but it drinks liquid, so it wants sealing and a little patience from you. We walk through all of it standing in your kitchen with your cabinets and counter in front of us. Tile looks different under your lights than it does in a showroom.

Grout matters more than most people expect. Narrow joints under an eighth of an inch take unsanded grout, and wider joints take sanded so the joint does not shrink and crack. Cement grout is the normal pick and it takes a sealer. Epoxy grout is more work to install and it resists stains better, which some owners want behind a range they actually cook on. Color changes the whole look. A grout close to the tile makes the wall read as one surface, while a grout that contrasts makes every tile pop as its own shape. We hold samples against your tile in daylight and under your cabinet lights before we mix anything, because grout is the one choice you cannot undo without pulling the wall apart.

  • Wall check first. We run a straightedge across the whole run and skim the low spots, so the tile does not telegraph old plaster patches.
  • Bright white mortar under glass tile. Anything gray behind it will dull the color and let the mesh backing read through the joints.
  • Box extenders at every outlet, so cover plates land on the tile face and the device sits where the electrical code wants it.
  • Soft caulk where the counter meets the wall. That joint moves with the house, and grout in there will crack by the second winter.
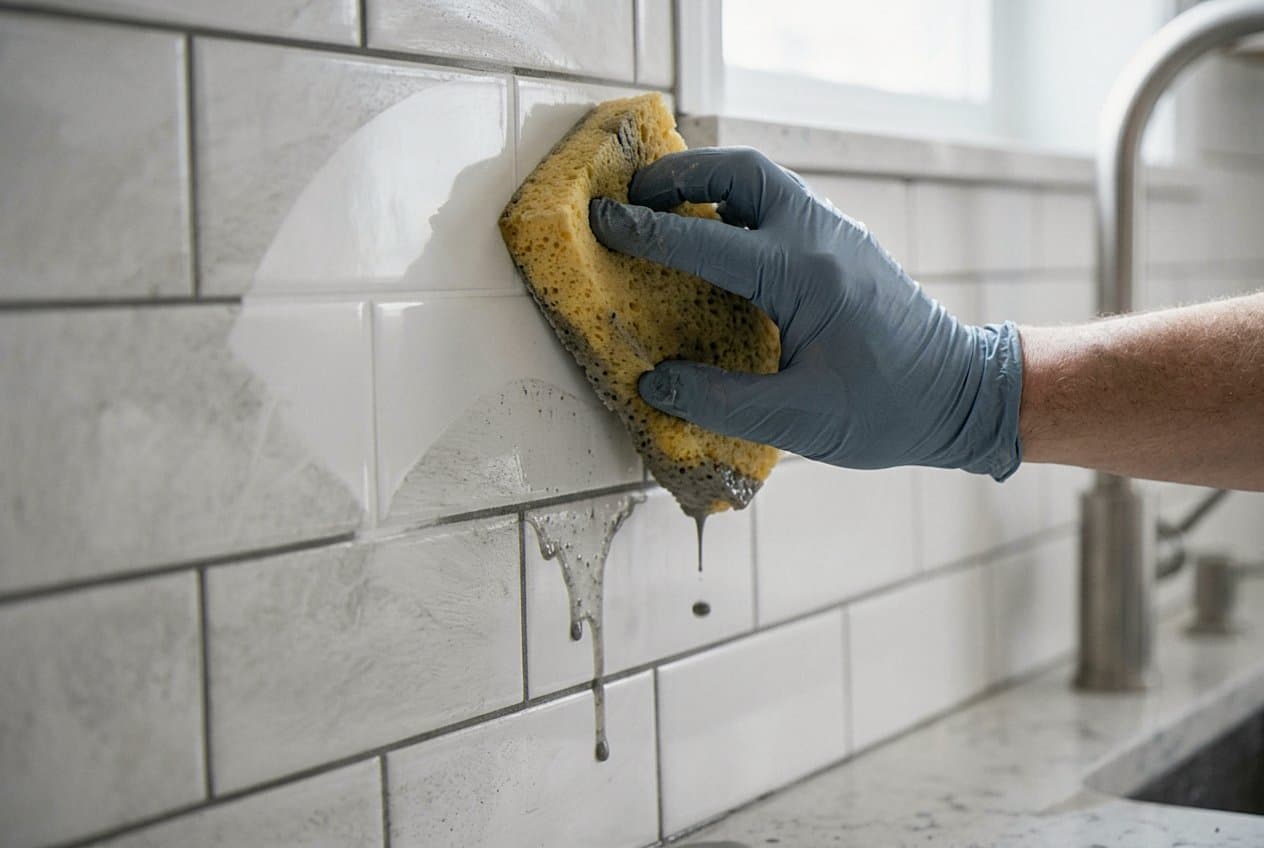
Sponging grout haze off a white subway backsplash
Tile samples fanned out on a work table
What about the alternatives?

Backsplash options, and what we tell people about each

People come to us with a photo from a magazine or a phone full of screenshots, and the question is always the same. Will it look right in my kitchen, and will it stay looking right. Here is how the common choices behave on a Grand Rapids wall, from the ones we set most weeks to the ones we would rather you skip.

Ceramic subway tile

The safest pick in almost any kitchen here. It cuts clean, hides a slightly wavy wall, wipes down with a sponge, and looks at home in a 1920s bungalow on the West Side or a new build out in Byron Center. If you ever crack a piece, swapping it is a small job.

Recommended

Porcelain tile

Denser and tougher than ceramic, which is why we like it on the range wall. It takes a better blade and more patience to cut, so the labor runs longer. Worth it if you cook hard and want a face that shrugs off grease.

Acceptable

Glass mosaic sheets

Goes up quickly and brightens a kitchen that faces north and never gets much light. The catch is the setup. Glass needs white mortar, a flat wall, and careful edge work, because it shows every mistake behind it.

Acceptable

Natural stone, marble or travertine

Lovely on a wall, and no two pieces match, which is the point. It is porous though, so it wants sealing when we set it and again down the road. Splash wine or lemon at it and walk away, and you will see the mark later.

Acceptable

Peel and stick vinyl panels

They look fine on day one and then the corners lift. Kitchen heat, steam off a pot, and cleaning spray all work against the adhesive. We get called to pull these off and tile properly far more often than we get called to put them up.

Skip

Tiling over the old backsplash

It sounds like a shortcut and it never is. You end up with a thick wall that swallows the outlet boxes, a surface nobody checked for flatness, and old adhesive that may let go later. We take the old run off and start from a wall we trust.

Skip
How it goes

From quote to walk-on, fast.

STEP 01

Your Inquiry

Call or send the short form with what is going on at your place. A sentence or two is plenty to get started.

STEP 02

We Talk It Through

We go over the situation, ask the questions that matter, and tell you plainly what we would do next.

STEP 03

A Clear Plan

You get a written rundown of the work, the order it happens in, and what to expect on the day.

STEP 04

The Work Gets Done

The crew shows up when we said, does the job, and walks you through the result before leaving.

Before you book

What people ask before they book

We would rather answer the awkward questions up front than have you find out halfway through the job. These come up in almost every kitchen we look at around Grand Rapids and Kent County. Here are the answers we would give you standing at your counter.

Two days for a standard run. Three if we are going to the ceiling behind a range hood or working around a lot of window trim. Day one is prep and setting. Day two is grout, caulk, and cleanup. You lose that counter and those outlets while we work, but the sink and the stove come back every evening. We sweep and wipe the space down before we leave.
No, removal is ours. Old tile usually comes off with the top layer of drywall paper stuck to it, so the wall needs patching or a fresh skim before anything goes back up. That is part of the job, not a surprise line later. If the old run was set on plaster and lath, which happens in the older neighborhoods, we work slower so we are not opening a bigger hole than we need.
Yes, and it looks sharp when the layout is planned for it. Going that high changes where the cuts land, so we pull the center line off the hood or the range instead of the counter. We also settle the top edge before we start. A run that dies into a soffit needs a different finish than one that stops on open wall.
Call us and we will tell you straight. Small runs often slot in within a couple of weeks, and bigger kitchens depend on what is already on the books. We will not hand you a date we cannot hold. If we are further out than you want to wait, you will hear that on the phone instead of a week before the job.
Tile adds depth, so the boxes come forward with extenders and the plates land on the finished face. That is part of our install. If a box is loose or the wiring looks rough once the old tile is off, we stop and show you before anything gets covered. Work past a box extender belongs to an electrician, and we will say so rather than guess.
We cut wet, and we cut outside or in the garage, so the fine dust never gets into your kitchen at all. Counters, floors, and cabinet fronts go under cover before we open a box. At the end of each day we vacuum, wipe the counters, and carry the debris out. The only thing you should find the next morning is tile on the wall.
Aftercare

Keeping it looking new

A tiled backsplash asks very little of you, which is most of the point. Wipe it with a soft cloth and warm water and it will look the way it did the day we left. Trouble starts with harsh cleaners. Bleach and acid strippers eat at grout and dull the seal on stone, and they do it slowly enough that you never notice until the joints look chalky. Winter here is dry indoors and summer is humid, and that swing makes the caulk line at the counter move a little every year. Keep an eye on it. When it starts to pull, tell us, and we will recut it in an afternoon rather than let water find its way behind the counter.

  • Wipe grease off the range wall while it is still warm, because plain water will take it then and a cleaner will be needed later.
  • Skip bleach and acid cleaners. Mild soap and a soft cloth handle almost anything a kitchen throws at a wall.
  • Reseal cement grout every couple of years, and reseal natural stone a little more often, especially on the run behind the sink where water lands daily.
  • Watch the caulk line where the counter meets the tile. A thin gap there is normal house movement, and it is an easy fix when you catch it early.
  • Keep a few spare tiles down in the basement. Matching a run years later is far harder than pulling one out of a box you already own.
  • Call us if a joint goes soft or a tile sounds hollow when you tap it. Small repairs stay small.
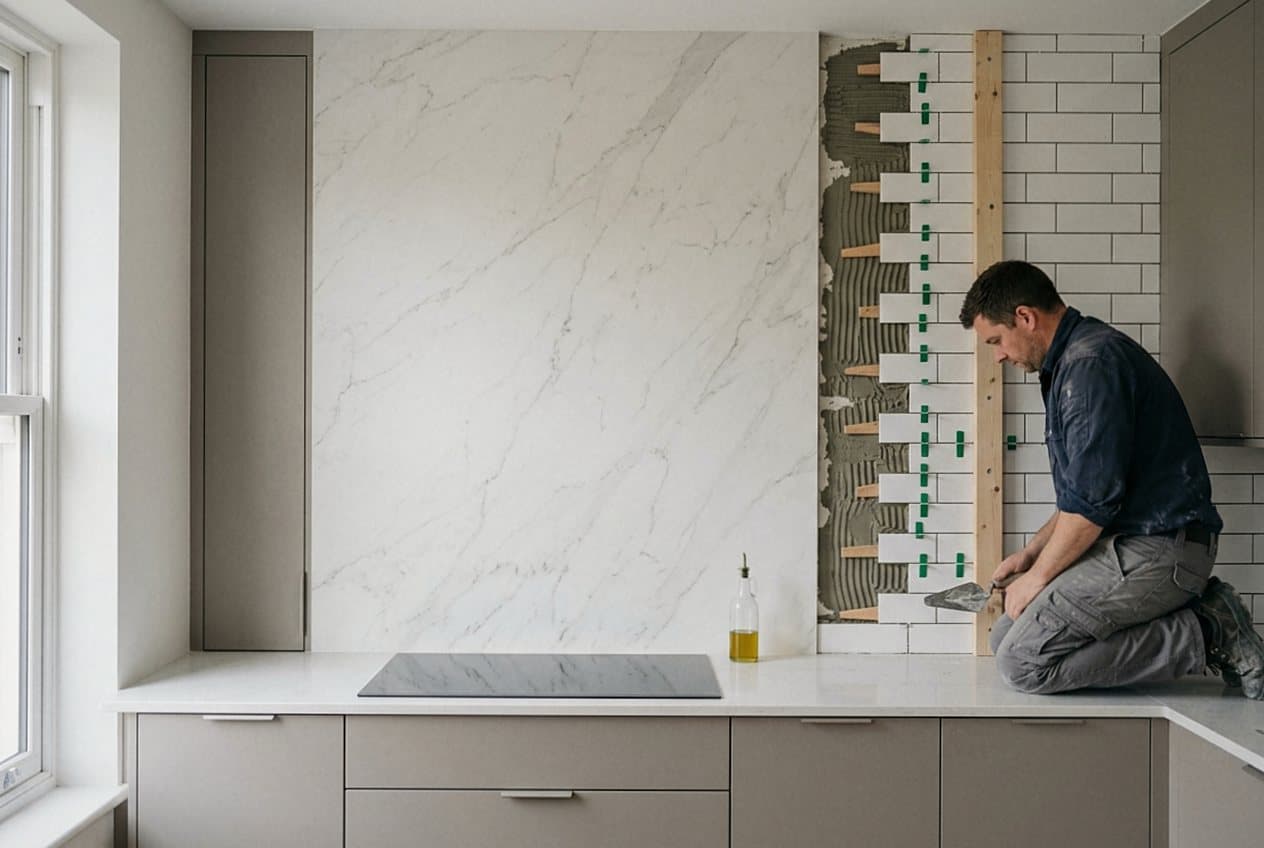
Installer setting a marble slab kitchen backsplash
FAQ

Backsplash questions we get in Grand Rapids

Ready when you are

Ready to get started in Grand Rapids?

Call or send the form with what is going on. You get a straight answer and a written quote, fast.

Call NowFree Quote